 Japanese
15-1: Gemini Omni (Video Generation & Editing AI Model)
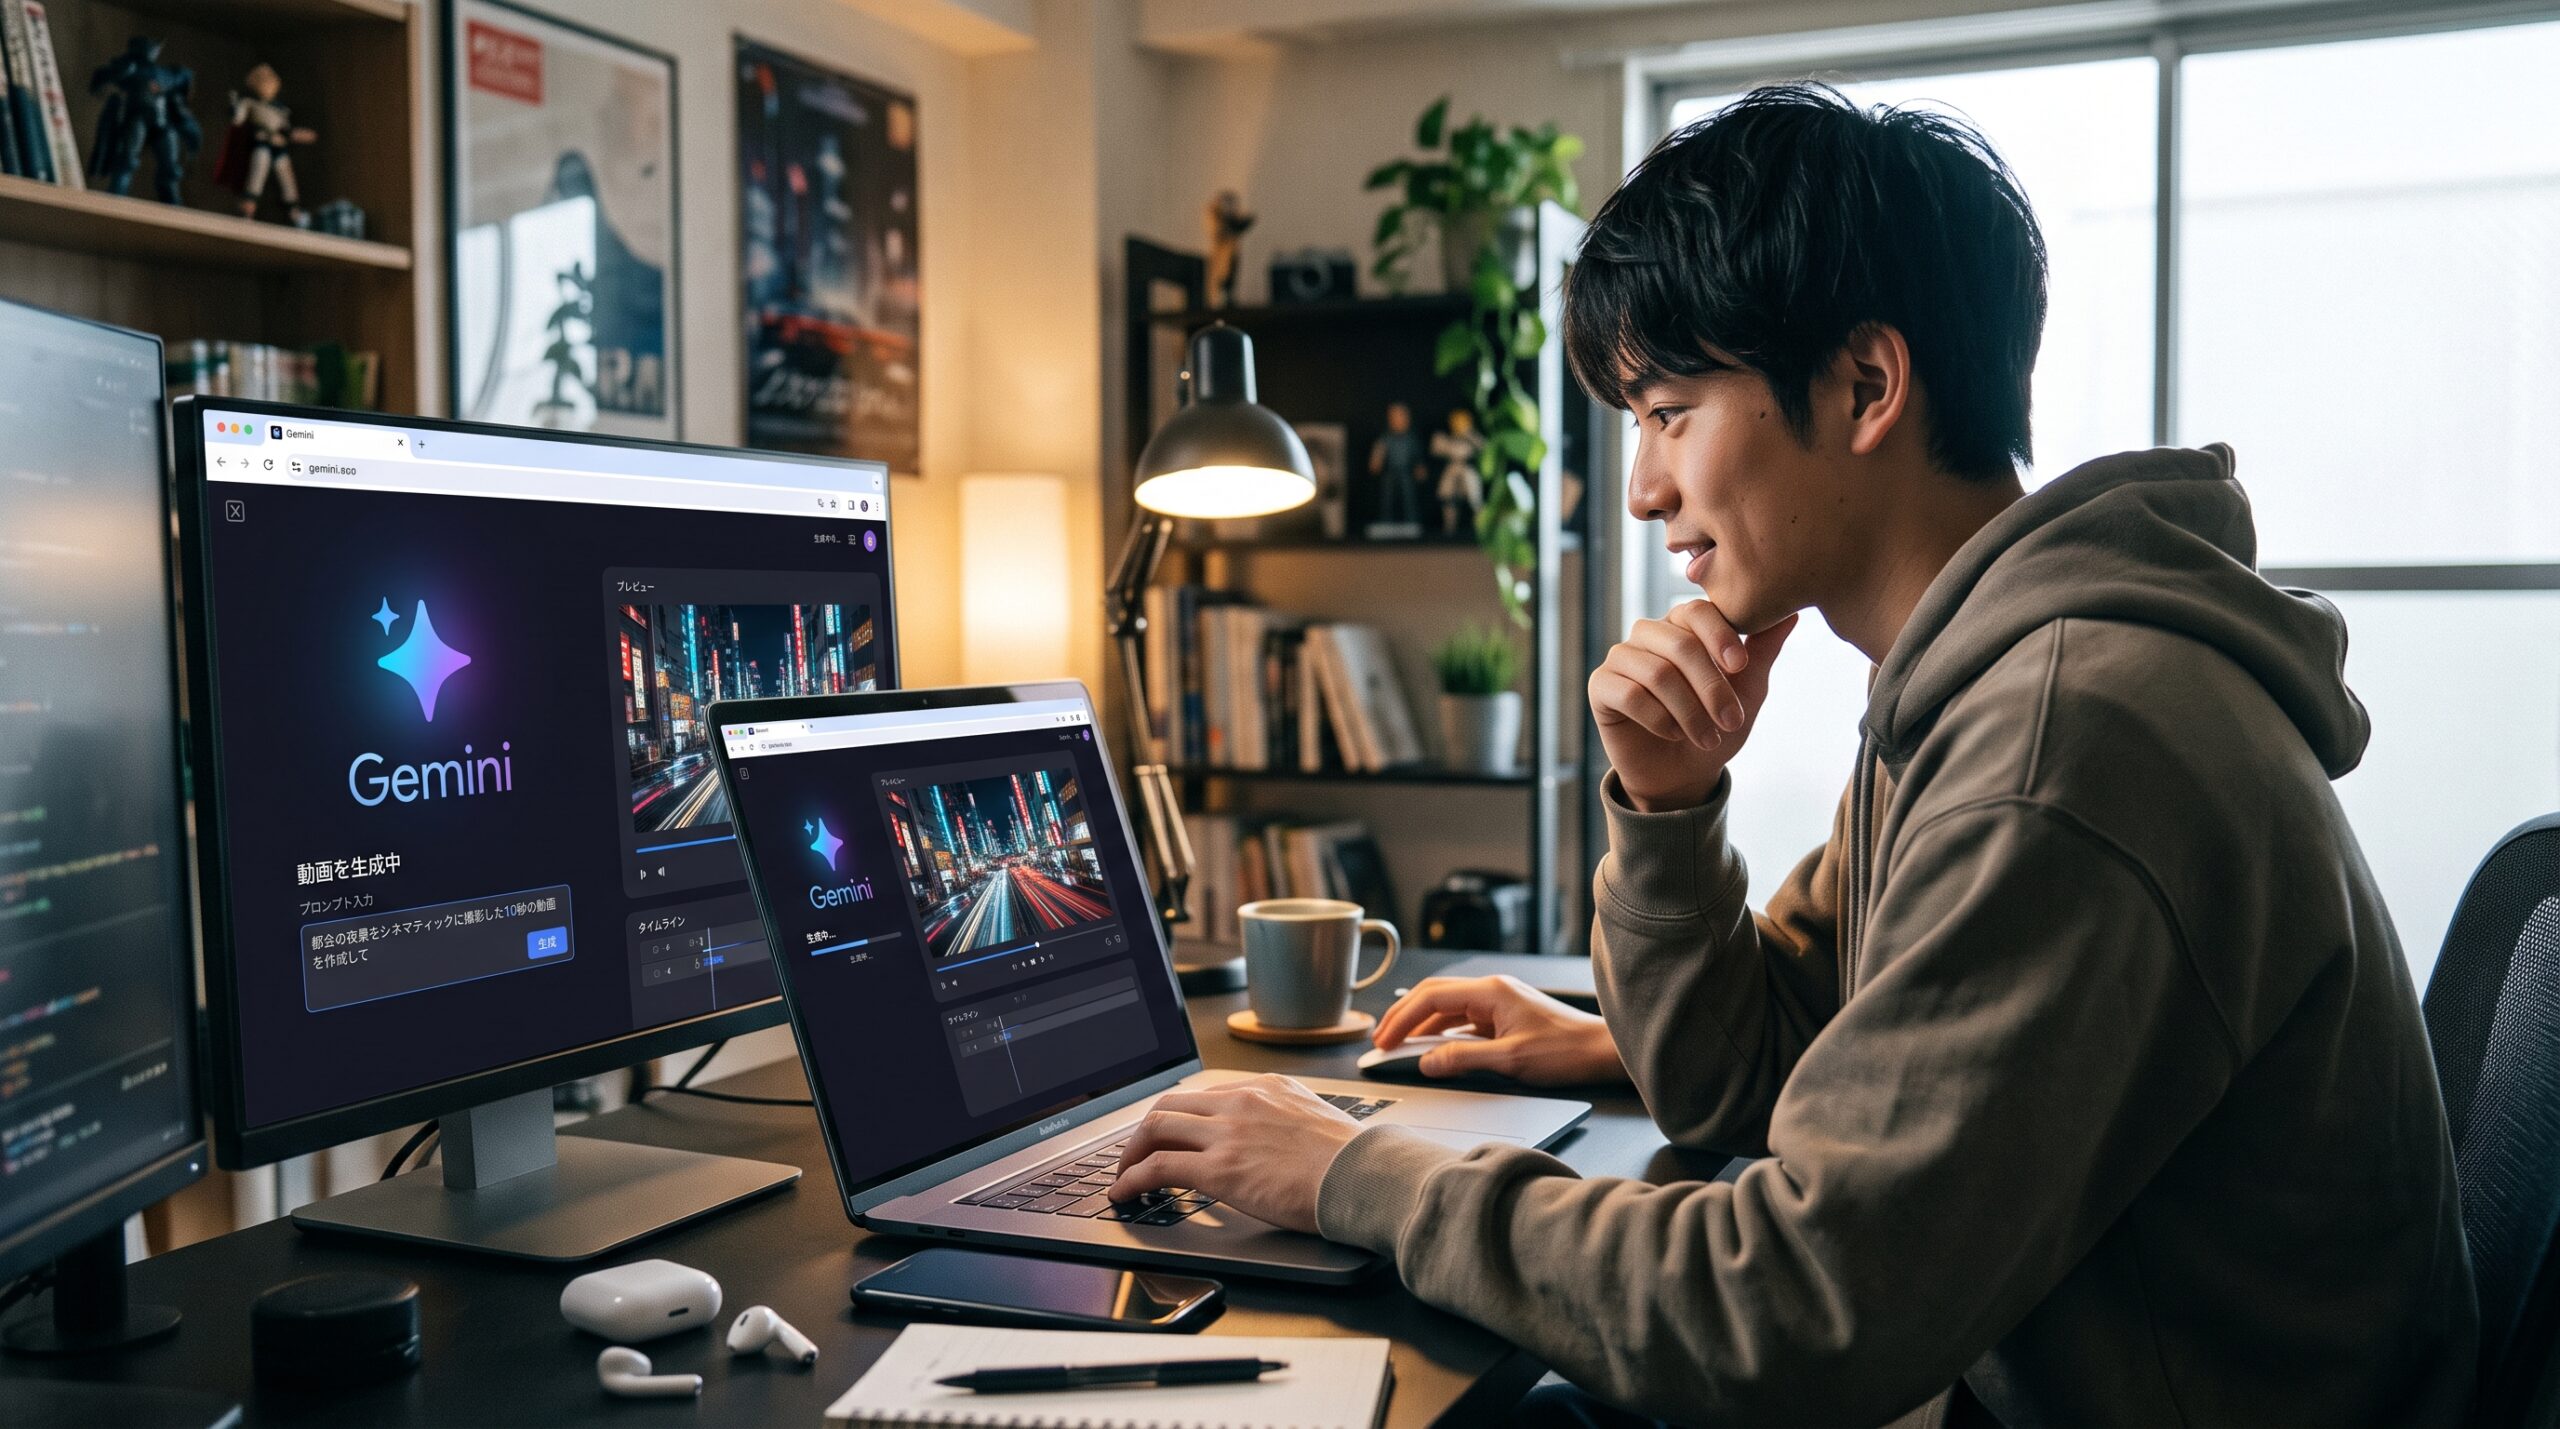
Gemini Omni is a next-generation natively multimodal AI model developed by Google. It enables users to freely combine text, images, audio, and video to generate and edit high-quality AI video. Beyond simply “creating video from text,” it introduces a completely new production paradigm: editing and refining your existing photos and footage through an interactive, conversational dialogue with AI.
(1) Intuitive Multi-Turn Conversational Video Editing
- You can edit generated or uploaded videos simply by giving conversational instructions, such as “Change the background to nighttime,” “Make it rain,” or “Change their outfit to a formal suit.”
- Even across multiple iterative prompts, the model maintains scene context and identity consistency, preserving facial features and background coherence.
(2) Combining Diverse Media (Multimodal Input)
- Rather than relying solely on text, you can ingest multiple still images, video clips, and background music audio files all at once to synthesize and reconstruct them into a seamless, cohesive video.
(3) Simultaneous Video and Audio Generation (Native Audio Support)
- Alongside video generation, the model natively synthesizes synchronized ambient audio (such as rain or breaking waves), sound effects, background music, and character dialogue tailored directly to the scene.
(4) Accurate Physics and Real-World Knowledge
- By simulating physical phenomena—such as gravity, light reflection, and fluid dynamics—alongside historical, cultural, and scientific background knowledge, it outputs realistic footage with minimal unnatural distortions.
(5) Personal Avatar Generation
- After verifying your identity through secure facial recognition protocols, you can register your likeness to generate a digital avatar that appears in videos and speaks customized scripts.
(7) Video Generation Workflow Example
Here is an example of generating a video using Gemini:
- Prepare the visual source: Use Gemini’s image generation feature to create a baseline image of a woman walking down a Parisian street.
- Access the video tool: Open Gemini, access the chat tool menu, and select “Create Video.”
- Upload and prompt: Click the “+” button to the left of the prompt field to upload the generated image of the woman walking in Paris, then enter the following prompt:
- “Create a video where the woman in the photo is walking down the street, notices a cafe, and walks inside.”
- Gemini then outputs the completed video:
[https://www.youtube.com/embed/8EhMVKODYqo?feature=oembed](https://www.youtube.com/embed/8EhMVKODYqo?feature=oembed)
15-2: Google Flow
Google Flow is Google’s creative AI studio and production environment designed specifically for creators. Rather than serving merely as a tool that outputs isolated short clips from text, it is engineered as an integrated workspace (workflow pipeline) for building, editing, and managing end-to-end projects such as short films, promotional videos, cinematic narratives, and custom creative pipelines.
(1) Key Features
- Integration of Google’s Leading AI Models: Integrates state-of-the-art generative models—including the Veo video model series (Veo 3, Veo 3.1, etc.), the Imagen image model, and the Gemini assistant—into a single workspace.
- Consistent Cinematic Generation: Allows you to manage and generate multiple cuts and scenes within a single project while preserving artistic style, character likeness, and environmental consistency.
- Native Audio Synchronization: Using supported engines (such as Veo 3 and later), you can generate footage alongside naturally synchronized background music and sound effects.
- Flexible Generation Modes & Workflows:
- Text to Video: Generate video directly from text prompts.
- Image to Video: Animate still images by designating specific camera motions and subject trajectories.
- Project & Scene Editing: Arrange and fine-tune multiple clips sequentially, assembling them like an interactive storyboard.
- Credit-Based Allocation: Billed via subscription tiers (Google AI / Google Flow plans), consuming compute credits based on render speed (Fast vs. Quality mode) and the selected model family.
(2) Step-by-Step Guide
Step 1: Sign In
- Visit the Google Flow homepage and sign in with your Google Account.
- Click the “Create with Google Flow” button.
Step 2: Initialize a Project
Click the “+ New Project” button at the bottom of the screen.
Flow organizes all creative assets on a project basis. Generated images, rendered videos, uploaded raw assets, reference stills, characters, and avatars are all consolidated inside a dedicated project space. Assign descriptive names to each project based on its production scope to keep your workspace organized.
Step 3: Browse Google Flow TV
Before generating footage, you can review real-world sample clips and their underlying prompt structures by clicking “Google Flow TV” at the top of the screen. Click the “CHANNEL” button in the lower right to filter by genre. When you find an inspiring clip, use its prompt structure as a baseline, adapt it into Japanese or English, and tailor it to your vision.
Step 4: Select Image Generation
When generating video in Flow, generating a high-quality reference still first and converting that image into video yields significantly higher fidelity than attempting direct text-to-video generation in one pass. Because Flow includes powerful image generation tools, we begin by creating a base image. Click the designated creation button at the bottom of the interface.
Step 5: Choose Ingestion Mode and Model Architecture
- Input Source: Choose whether to generate from a new text prompt or upload existing images/reference assets.
- Model Selection: Select your model (e.g., Nano Banana 2) and aspect ratio (16:9). Choose Nano Banana 2 for rapid generation when draft speed is prioritized, or Nano Banana Pro when fine visual fidelity is essential.
- Batch Size: You can generate up to four variations simultaneously. Generating the maximum number is recommended to expand your creative choices. Still image generations do not consume paid credits.
Step 6: Crafting Image Generation Prompts
Just as in Gemini, balancing the following five structural components produces consistent, high-fidelity results:
- Main Subject: Who or what (e.g., “A woman with dark hair,” “A Shiba Inu,” “A sci-fi robot”).
- Setting / Background: Where and when (e.g., “A rain-swept cafe,” “A beach at dusk,” “A futuristic metropolis”).
- Style: Visual texture and rendering approach (e.g., “Photorealistic photograph,” “Watercolor,” “Anime-style,” “3D render”).
- Composition & Lighting: Camera perspective and illumination (e.g., “Frontal close-up,” “Natural diffused light,” “Vibrant color gradient”).
- Action / Directive: What is happening (e.g., “Generate an image depicting…”).
Ready-to-Use Prompt Templates
1. Photorealistic Styles
Template 1: Character Portrait
“A high-resolution photograph of a woman in her 20s sitting by the window drinking coffee in a modern cafe bathed in bright sunlight. She is wearing casual clothes and has a soft smile. Natural lighting, shallow depth of field (blurred background), warm color tones.” (Gemini)
(Generates 4 variations)
Template 2: Landscapes & Nature
“A beautiful scenic photograph of a tranquil beach at dusk. The sky shows a gradient of orange and purple, with the setting sun reflecting on the water’s edge. Wide-angle lens, dramatic lighting, photorealistic DSLR texture.” (Gemini)
(Generates 4 variations)
2. Business & Presentations (Stock Photo Style)
Template 1: Office & Teamwork
“A stock-photo style image of a diverse team of professionals smiling and discussing ideas around a whiteboard in a bright, modern office. Professional and collaborative atmosphere, clean and bright lighting.” (Gemini)
Template 2: Conceptual & Key Visuals
“A 3D render of a holographic globe and data network floating above an open palm. Theme: ‘Future Technology and Global Connectivity.’ Minimalist, sophisticated design set against a clean dark blue background.” (Gemini)
Step 7: Structuring Video Animation Prompts
- Take Template 1 from the photorealistic examples above, pick the strongest candidate among the four generated images, click the three-dot menu (⋮) in the top-right corner of the image card, and select “Animate.”
- Entering the Prompt:
When animating a still image, the most critical rule is to describe only motion and camera movement that is not already visible in the static frame. (Over-describing the subject’s appearance risks altering the character’s baseline features.)
Construct your prompt around this formula:
$$\text{[Subject Motion]} + \text{[Environmental Shifts]} + \text{[Camera Movement]}$$
Practical Prompt Formulas by Scene Category
1. Characters & Figures (Natural Emotion and Movement)
- Smiling / Eye Tracking:
“The woman slowly looks up, turns her head toward the camera, and smiles softly. Hair gently swaying in the breeze.” - Walking / Locomotion:
“A person walking forward naturally down the street, slow-motion, smooth movement.”
2. Landscapes & Environments (Atmosphere and Cinematography)
- Nature (Ocean / Wind):
“Ocean waves gently crashing onto the shore, palm tree leaves swaying in the wind, sunset lighting gradually shifting.” - Aerial Drone Movement:
“Slow aerial drone shot, zooming out to reveal the vast mountain range, clouds moving across the sky.”
3. Sci-Fi, Fantasy & VFX
- Magic / Particles:
“Magic glowing orbs hovering and floating around the hand, subtle particles drifting in the air.” - Dramatic Pull-Back:
“Fast camera zoom-out, revealing a massive cyberpunk city expanding beneath.”
Drawing on these guidelines, here is a complete video prompt (prompts can be submitted in Japanese, but English prompts often achieve slightly higher precision on subtle details):
“The woman slowly looks up, turns her head toward the camera, and smiles softly. Hair gently swaying in the breeze. Then, she stands up and walks toward the exit door, opens it slowly, and goes out to the street. On the horse-chestnut avenue, she meets her friend, and they walk down the street, chatting joyfully.”
Step 8: Exporting and Downloading
Before rendering, configure your target resolution, aspect ratio, model architecture, and duration. Check your remaining credit balance displayed at the bottom of the interface before launching generation, as insufficient credits will trigger a warning and block the render.
- Select Video.
- Select assets (if defining start and end keyframes, assign specific frames).
- Set Aspect Ratio (e.g., Landscape 16:9).
- Choose the Video Model.
- Select Duration in seconds (longer renders consume more credits).
- Set Batch Count (e.g., 1 video).
Generated Video:
[https://www.youtube.com/embed/lEtVhd7ZQOk?feature=oembed](https://www.youtube.com/embed/lEtVhd7ZQOk?feature=oembed)
15-3: Video Generation with Google Vids
Google Vids is an AI video creation application included in Google Workspace, tailored for corporate communication, internal enablement, and education. Rather than mimicking complex non-linear editing software, it operates much like “Google Slides in video form.” Without requiring professional video editing experience, users can transform documents and presentations into training modules and explainer videos within minutes.
Eligible Account Tiers
- Google Workspace Plans: Business Starter / Standard / Plus, Enterprise, Frontline Plus.
- Gemini Add-On: Accounts assigned a “Gemini for Google Workspace” license.
- Education Accounts: Qualified Google Workspace for Education editions.
- Personal Google Accounts: Subscribers to qualifying Google AI paid plans (such as Google AI Pro / Ultra).
1. Core Capabilities
- (1) End-to-End Generation from Docs and Slides: Ingest Google Docs or Slides files directly from Google Drive into Gemini to automatically produce complete storyboards, voiceover scripts, stock B-roll selections, and background music.
- (2) AI Avatars & Multilingual Voiceovers: Deliver presentations using photorealistic AI avatars without stepping in front of a camera. The system supports natural text-to-speech across multiple languages, with facial expressions and gestures adjustable via prompts.
- (3) Media Generation Powered by Veo and Lyria:
- Video Generation (Veo): Generate video b-roll directly from text descriptions or reference stills (e.g., “Team meeting in a modern glass office”).
- Music Generation (Lyria): Compose original background tracks simply by defining an aesthetic mood (e.g., “Upbeat corporate acoustic,” “Mellow reflective ambient”).
- (4) Slide-Style Timeline Editing: Each scene functions like a slide in a presentation deck. Users can reorder scenes, swap media, and update copy via intuitive drag-and-drop actions rather than complex timeline tracks.
- (5) Real-Time Collaborative Editing: Collaborate with teammates simultaneously, leave contextual comments, and review revisions just as you would in Google Docs or Slides.
2. Practical Use Cases
(1) Freelancing, Solopreneurship & Content Publishing
- Faceless Explainer & PR Videos (YouTube / Social): Produce tech reviews, tutorials, and industry summaries using AI avatars and synthetic voiceovers without personal on-camera recording.
- Showcasing Services on Freelance Marketplaces: Transform text-heavy profiles on platforms like CrowdWorks into visual portfolio reels for writing, design, or consulting services.
- Video Summaries for Blogs & Websites: Embed concise video recaps into written articles to improve page engagement and accessibility.
(2) Career Development, Hiring & Portfolios
- Video Resumes & Self-Introductions: Convert slides detailing work history, core competencies, and career achievements into narrated introduction videos.
- Digital Portfolios: Sequence software projects, writing samples, or design work into slide-based showreels complete with music and subtitles.
(3) Education, Research & Online Courses
- Transforming Lecture Slides into Video Presentations: Convert academic papers, student project decks, or workshop materials into asynchronous briefing videos.
- Publishing Digital Courses: Package specialized expertise (language learning, programming, hobbies) into modular video lectures for distribution on platforms like Udemy or Note.
(4) Community, Events & Personal Projects
- Event Invitations & Group Announcements: Create promotional clips for community meetups, regional events, or hobby clubs.
- Milestone Slideshows: Assemble photos and home video clips into shared family albums with custom transitions and music.
3. Launching and Accessing Google Vids
- Method 1: Open the Google App Launcher (waffle menu) in Chrome and select Vids.
- Method 2: Navigate directly to
vids.google.comin your browser. - Method 3: Open Google Drive, click + New, and select Google Vids.
4. Case Study 1: Transforming Slide Decks into Video
- Initialize Project: Open a new video project and select “Convert Slides” from the media import menu.
- Link Google Slides: Select and attach an existing slide deck from Google Drive. Gemini parses the data tables, diagrams, and body text to build the narrative foundation.
- Automated Script Synthesis: The system drafts voiceover scripts for every slide in the deck.
- Draft Video Generation: Click “Create draft video” in the lower-right corner to compile the narrated presentation.
- Voice Selection: Choose from a library of male and female voices, previewing tone, cadence, and timbre.
- Avatar Selection: Choose a digital presenter avatar that matches your project’s tone.
- Voice & Webcam Overlay: Use the built-in Recording Studio to record your own voiceover or place webcam footage into a corner overlay.
- Auto-Timing: Vids automatically synchronizes the display duration of each scene to the exact millisecond length of its narration.
- Exporting: Export the finished video directly to YouTube or Drive. Closed captions are generated automatically and can be customized by font, placement, and visibility.
Resulting YouTube Video:
[https://www.youtube.com/embed/6ciAAMuu8_I?feature=oembed](https://www.youtube.com/embed/6ciAAMuu8_I?feature=oembed)
5. Case Study 2: Building from Scratch (Story-Driven Pipeline)
To build a video manually without automated AI ingestion:
- Start Blank: In Google Drive, click [+ New] > [Google Vids], then select [Start from scratch] in the lower right.
- Add Scene Frames: Click [+ Add scene] in the bottom timeline to build your storyboard (Intro, Body, Outro), adjusting scene durations by dragging their boundaries.
- Assemble Assets & AI Video Clips:
Example: “The Life of Beethoven.” Prompt Gemini: “How do I structure a video on the life of Beethoven in Vids?” Gemini provides a scene-by-scene script. In Vids, navigate to AI Video Clips in the right sidebar and enter descriptions for each scene. Scene 1 (“Birth and the Bonn Period (1770–1792)”) automatically pairs the generated clip with corresponding narration. Proceed similarly for Scenes 2 and 3. - Fine-Tune Animations & Transitions: Adjust element timing by dragging assets on the timeline, then assign transition effects (Fade, Slide, Dissolve) between scenes.
- Preview, Share, and Download: Review the synchronized playback using the top play button. Export via the Share menu or download as an MP4 file.
Resulting YouTube Videos:
- Initial Version:
[https://www.youtube.com/embed/d-G7MeUvIa0?feature=oembed](https://www.youtube.com/embed/d-G7MeUvIa0?feature=oembed) - Revised Version:
[https://www.youtube.com/embed/hGIQapVSvzY?feature=oembed](https://www.youtube.com/embed/hGIQapVSvzY?feature=oembed)
6. Case Study 3: Creating Software Tutorials via Screen Recording
Create application tutorials efficiently using the built-in screen capture studio (demonstrated below with a tutorial on Google Gemini):
- Preparation: Open the target application in a separate browser tab, write out your talking points in Google Docs, and create a blank project in Vids (
vids.google.com). - Launch Recording Studio: Click “Record” on the home canvas and select your mode (e.g., “Screen” or “Screen & Camera” for picture-in-picture).
- Capture Screen: Select the target browser tab (Google Gemini) and click Share. Recording begins automatically, indicated by a floating control widget in the lower right. Walk through the interface while narrating.
- Insert Recording: Stop the capture and insert the footage directly onto the timeline canvas.
- Attach AI Avatar & Narration: Open the Avatar panel in the right sidebar, paste your script into the voiceover field, select an avatar style, and click Preview. Once generated, resize and position the avatar on the screen.
- Share and Download: Click Share to export to Google Drive (saved in editable
.gvidformat), publish to YouTube, or download as an MP4 file for editing in third-party software like Adobe Premiere Pro.
First Scene Exported to YouTube:
[https://www.youtube.com/embed/3pXg0a4iuN8?feature=oembed](https://www.youtube.com/embed/3pXg0a4iuN8?feature=oembed)
- Recording Multi-Scene Tutorials:
- Record Scene 1 and insert it onto the canvas.
- Click the “+” (Add Scene) button on the far right of the timeline to create a new slot.
- Record Scene 2 via the Record menu and insert it into the new scene.
- Insert the avatar into Scene 2: Click Narration > Insert Narration to reuse the exact avatar and voice settings from Scene 1, ensuring consistency across all sections without extra configuration.
Combined Multi-Scene Video:
[https://www.youtube.com/embed/gPU4wOXBGJc?feature=oembed](https://www.youtube.com/embed/gPU4wOXBGJc?feature=oembed)
- Timeline Editing:
- Reordering: Reorder scenes by dragging and dropping them along the timeline.
- Trimming: Trim clip boundaries or right-click to select “Split scene at playhead” to remove unneeded sections.
- Adding Captions, Titles, and B-Roll: Add callout text via the Text menu, insert title cards via Templates, and select background tracks from Stock Music (complete with volume, fade-in, and fade-out controls).
- Setting Transitions: Click the transition icon between any two scenes on the timeline, choose an effect (Fade, Slide, Dissolve), and adjust the duration slider.
Final Edited Video:
[https://www.youtube.com/embed/VZ_oobFBbdQ?feature=oembed](https://www.youtube.com/embed/VZ_oobFBbdQ?feature=oembed)
15-4: Comparing Omni, Flow, and Vids
While Gemini Omni, Google Flow, and Google Vids are all video AI solutions developed by Google, they serve distinct production needs: conversational multimodal video editing, professional filmmaking, and business presentations/internal communications.
- Gemini Omni: An interactive creative partner for editing and refining video through continuous dialogue.
- Google Flow: An AI cinematic studio for producing high-fidelity narratives, short films, and stylized creative media.
- Google Vids: A business productivity tool for creating presentations and training videos with slide-like simplicity.
(1) Overview & Defining Capabilities
| Feature | Gemini Omni | Google Flow | Google Vids |
| Category | Conversational Multimodal Video Model (Flagship: Gemini Omni Flash) | Professional Creative AI Studio | Business Video Creation App (Google Workspace) |
| Defining Strength | Interactive iterative editing (e.g., “Make the background sunset at 3s while keeping the subject identical”) | Multi-scene cinematic assembly powered by Veo 3.1 & Gemini Omni with advanced camera controls | Automated script, voiceover, and avatar generation from Docs and Slides |
| Best For | Fast iterative drafting, casual video clips, interactive tweaking | Short films, commercial ads, music videos, cinematic storytelling | Internal training, sales decks, project updates, async presentations |
(2) Workflow Comparison
| Tool | Core Production Flow | Primary Output |
| Gemini Omni | 1. Input base video, still image, or text prompt. |
- Iteratively refine output via conversational instructions (“Change X to Y”).
- Finalize video while preserving identity consistency and physics. | Short-form social content, creative experiments, rapid iterative prototyping. | | Google Flow | 1. Structure scenes along a storyboard timeline, defining camera angles and styles.
- Select generation models (Veo, etc.) to render individual cuts.
- Apply visual effects, upscale (1080p/4K), and assemble into a continuous edit. | AI short films, commercials, music videos, narrative cinematic projects. | | Google Vids | 1. Generate storyboards automatically from prompts or Workspace documents.
- Arrange text, stock assets, screen recordings, and avatars on slide cards.
- Add AI voiceovers and share directly with teams. | Pitch decks, internal training modules, onboarding guides, status updates. |
(3) Availability, Plans, and Credit Mechanics
Availability & Rollout
- Google Vids: Announced in April 2024 (Google Cloud Next ’24) and rolled out across Workspace editions.
- Google Flow: Announced and launched in May 2025 (Google I/O 2025).
- Gemini Omni: Announced in May 2026 (Google I/O 2026) as Google’s latest flagship multimodal model.
Access & Subscription Models
- Gemini Omni: Accessible via the Videos tab in the Gemini app and inside Google Flow. Requires a paid Google AI subscription tier (Plus, Pro, or Ultra).
- Google Flow: Offers a free trial tier (50 credits/day for non-subscribers). Full production access is bundled into Google AI subscription plans, which grant monthly recurring credit allowances.
- Google Vids: Available across Google Workspace plans (Business, Enterprise, Education) and qualifying consumer Google AI plans. Core functionality is included in standard subscriptions.
Credit Consumption Model
| Tool | Consumption Model | Usage Benchmarks & Allocations |
| Gemini Omni | Consumes credits per generation and conversational edit pass | – 4-second generation: 15 credits |
- Conversational edit pass: 40 credits flat rate
(Shared across Google Flow and Gemini app environments) | | Google Flow | Tiered credit consumption based on model, resolution, and clip length (unused credits do not roll over) | – Free: 50 credits / day
- Plus: 200 credits / month
- Pro ($19.99/mo): 1,000 credits / month
- Ultra ($249.99/mo): 25,000 credits / month
(e.g., Veo 3.1 Lite costs 10 credits; Omni edit costs 40 credits) | | Google Vids | Monthly pooled quota based on AI feature consumption | Included within standard Google Account / Workspace quotas. Consumes pooled capacity per AI script generation, avatar render, and text-to-speech export request. |





Comments